Are you worried about How to Make Skateboard Bearings on your own? It’s easy to construct your skateboard bearing, and then you can save money by not having to go out. Plus, this process is quite simple!
The tools that are required for making the bearings are just a couple of sockets or wrenches along with pliers – so all in all, it’ll take up little space on our toolkit list too. Let’s get started.
Can We Make Skateboard Bearing own?
Yes, you may do these steps when the necessary skills and tools are present. Keep in mind that your board’s bearings might affect how it performs; if they’re faulty or not functioning correctly, then there is potential for an accident resulting from this fault to take place while skateboarding.
A complete understanding of what causes any problem should be had during each step we take to avoid repairing said issue later down our journey.
Stepwise Procedure for the Skateboard Making
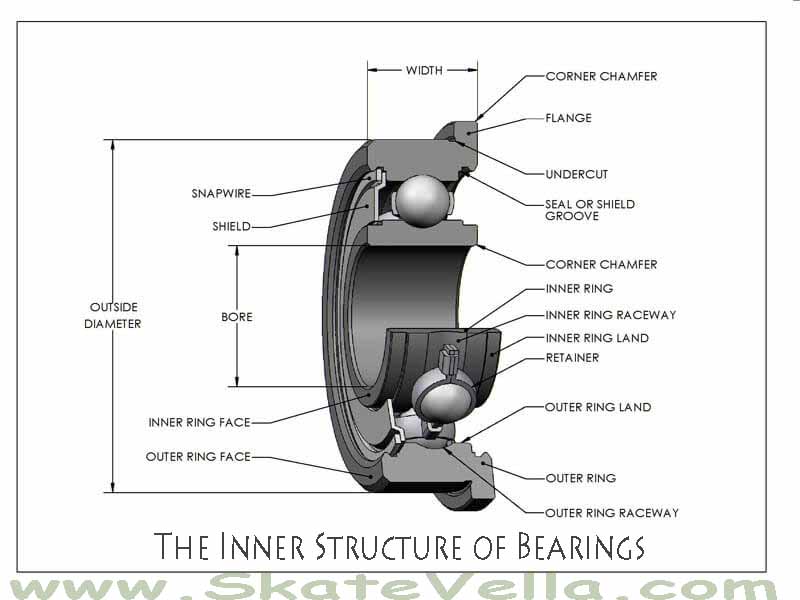
The Bearings Structure
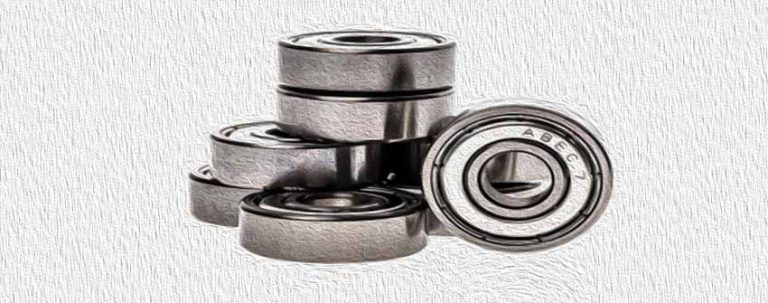
The most important thing is to know the Structure of the bearing first. If you don’t see how it works, you cannot make it. The process of making a bearing is quite fascinating. It starts with two rings lined up tightly against each other, and then some tiny steel balls get stuck in between them to connect the inner and outer rings for smooth rolling motion.
It’s a good idea to invest in bearings that will last as long and keep your skateboard rolling. Ceramic or steel are both excellent choices for different environments, but one might be better than the other, depending on where you plan on skating.
For example, if it frequently rains, then ceramic will offer more protection from water intake because its surface repels dirt. In contrast, metals can become rusty when wet, making them harder (or even impossible)to use again after cleaning off any spilled drops of liquid metal stuff like Sulfuric Acid). But don’t worry – professionals always have backups just in case something goes wrong, so no need to panic.
Preparation for Tools And Materials
we would need the following items to begin learning How to Make Skateboard Bearings:
- A hammer
- Different size hex wrenches.
- Tweezers
- Exacto knife, and
- The screwdriver or one 12-inch spike.
- The set of spherical bearings contains Seven balls, detachable nylon cages, as well as removable shields.
- Lubricant
- A tissue/ cloth for cleaning
The two most popular materials for shopping carts are steel and ceramic. Steel has been the standard of choice since it first came onto the market.
Still, there have been some advances in other materials that may be worth considering if you’re looking for an eco-friendly cart or one with reduced sound levels when moving around your store – consider checking out models made from recycled aluminum.
Removing The Backside Wheel
To disassemble your board, you’ll need to loosen and remove the axle nut on each wheel with an adjustable wrench. Ensure that when removing them from their respective axles, they are secure around it while not fully assembled for safety purposes; if these parts get separated during transport, there could be issues.

Once all four nuts have been removed carefully at first. So as not to break any of them off–you can start pulling down towards yourself or even taking apart piece by piece depending upon preference/availability of equipment available (a vice), whichever works best fits what needs to be done next.
The process to Disassemble The Bearings.
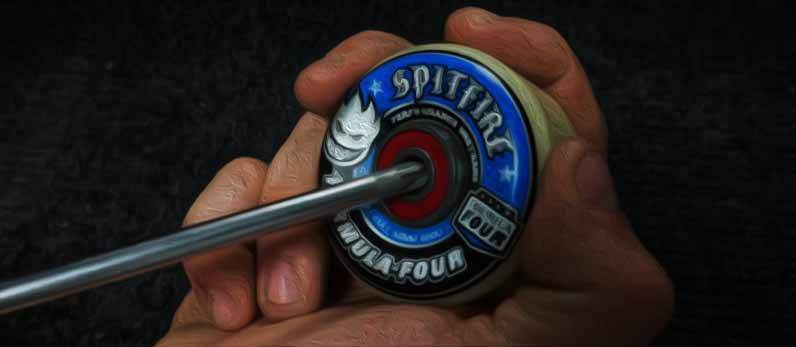
To remove your wheel’s bearings, you must first take apart its centerpiece. Use a hammer and spike if the screwdriver doesn’t work for some reason. The next step is to disassemble these parts from around them: remove all eight screws holding down the mainframe we discussed earlier.
Once they’re free of their anchors on either side, use both hands simultaneously while still standing inside-facing up, not forcing any broken pieces outwards, which may scratch surfaces below where it meets flooring/platforms, etc.
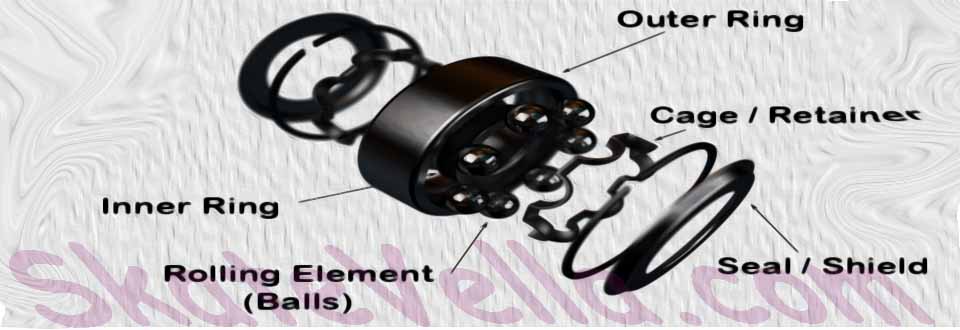
Separate All Parts Of The Bearings
Once removed from their wheel, search for a tiny ring outside with the Exacto knife. Pry it upwards and next dig into your vehicle’s plastic case using an exact blade to get all components out safely without losing them. Store in a secure location, so they don’t go missing or get thrown away accidentally like last time.
The balls that we used to hold our centerpiece in place can be pushed and pulled by hand, but they will only move around the table if you press on them.
If one side of your arrangement is more heavily in weight than others, then it could cause some items at a greater distance from this central point to fall off before their time comes up – not exactly what we wanted for everyone’s enjoyment! To avoid such occurrences, just gently put pressure onto any piece between two larger weights.
Rounding up the process: Cleaning
We hope you enjoy this awesomely crafted product. Now that it’s all assembled make sure to clean each component carefully and take care of the tools because they are precious.
Final Verdict
Learning how to make skateboard bearings is an easy process, and you can even do it using simple materials. Follow this guide for step-by-step instructions on what needs coverage to make good use of them.
After reading through our detailed tutorial about making the best quality deck screws, now we’re going over getting some excellent board rollers under control with an informative article providing all the relevant information one would need.